

Authentication is something that always creates problems for frontend developers who just start their journey towards advanced stuff. Today in this tutorial we gonna see how can you add Authentication to your React app using Auth0.
What is Auth0
Auth0 is a flexible, drop-in solution to add authentication and authorization services to your applications. Your team and organization can avoid the cost, time, and risk that come with building your own solution to authenticate and authorize users.
Implementation in React App
To get rolling let's initialize a React app using npx create-react-app.
npx create-react-app reactauth0
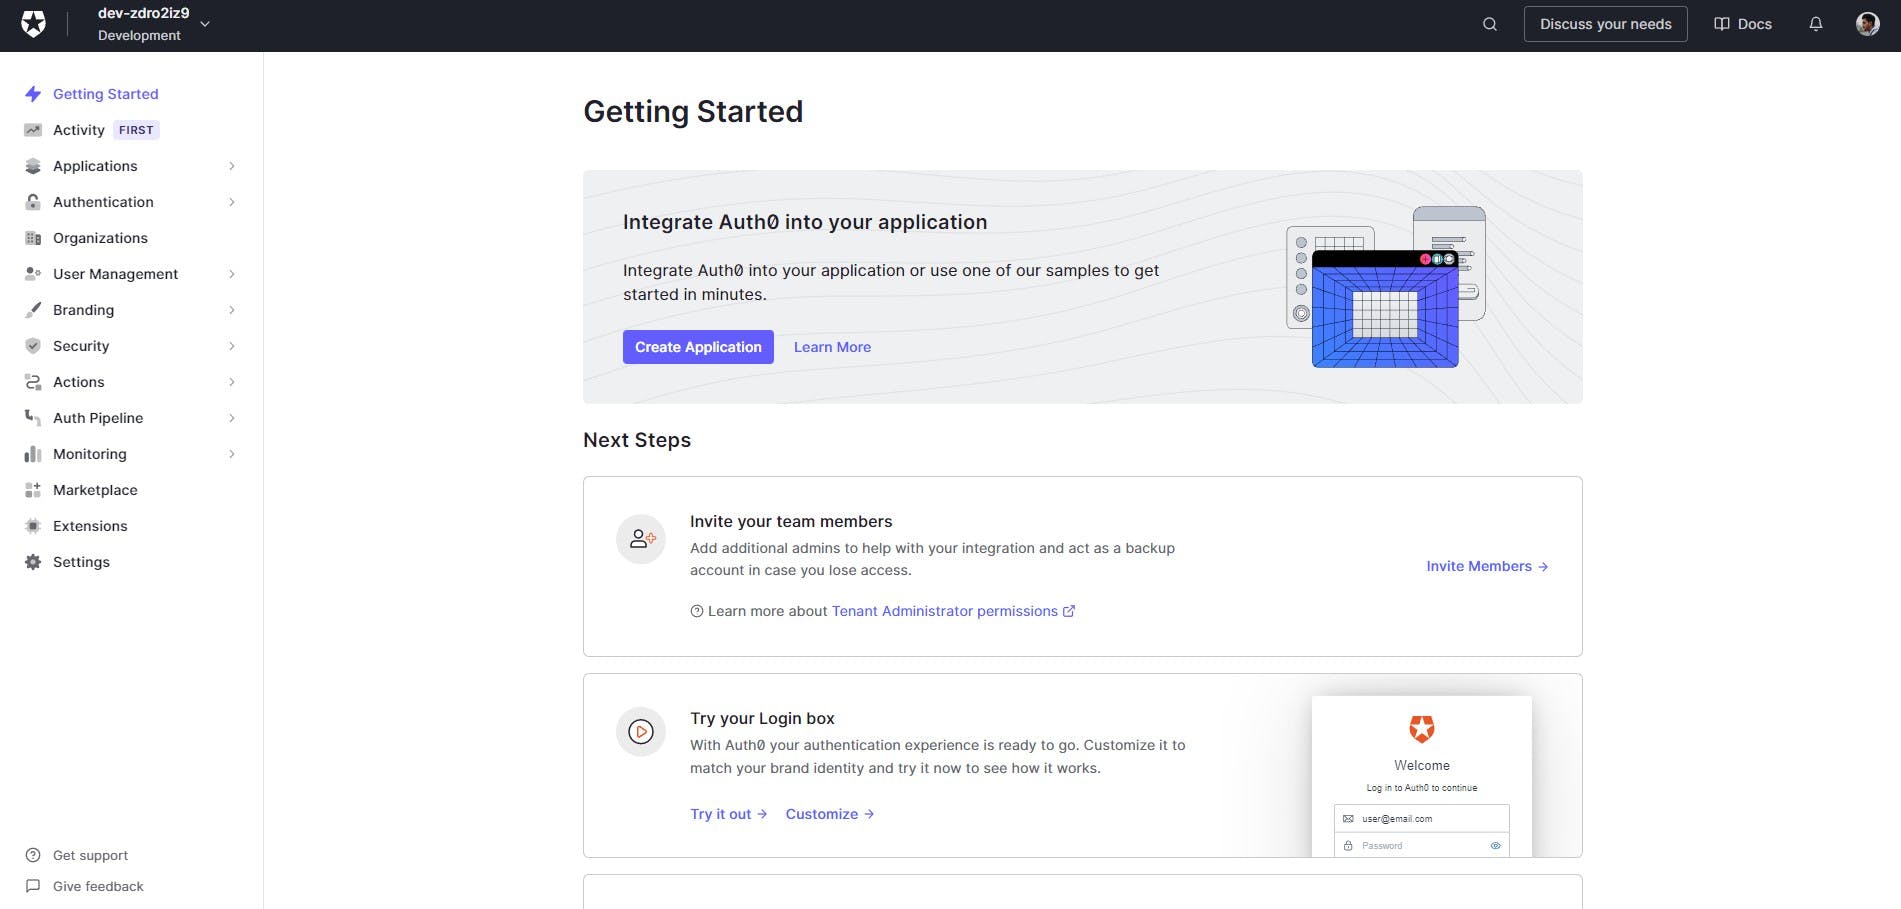
And meanwhile, our react app is initializing let's set up our Auth0 account, go to Auth0, and signup, and after logging in you will redirect to the app dashboard.
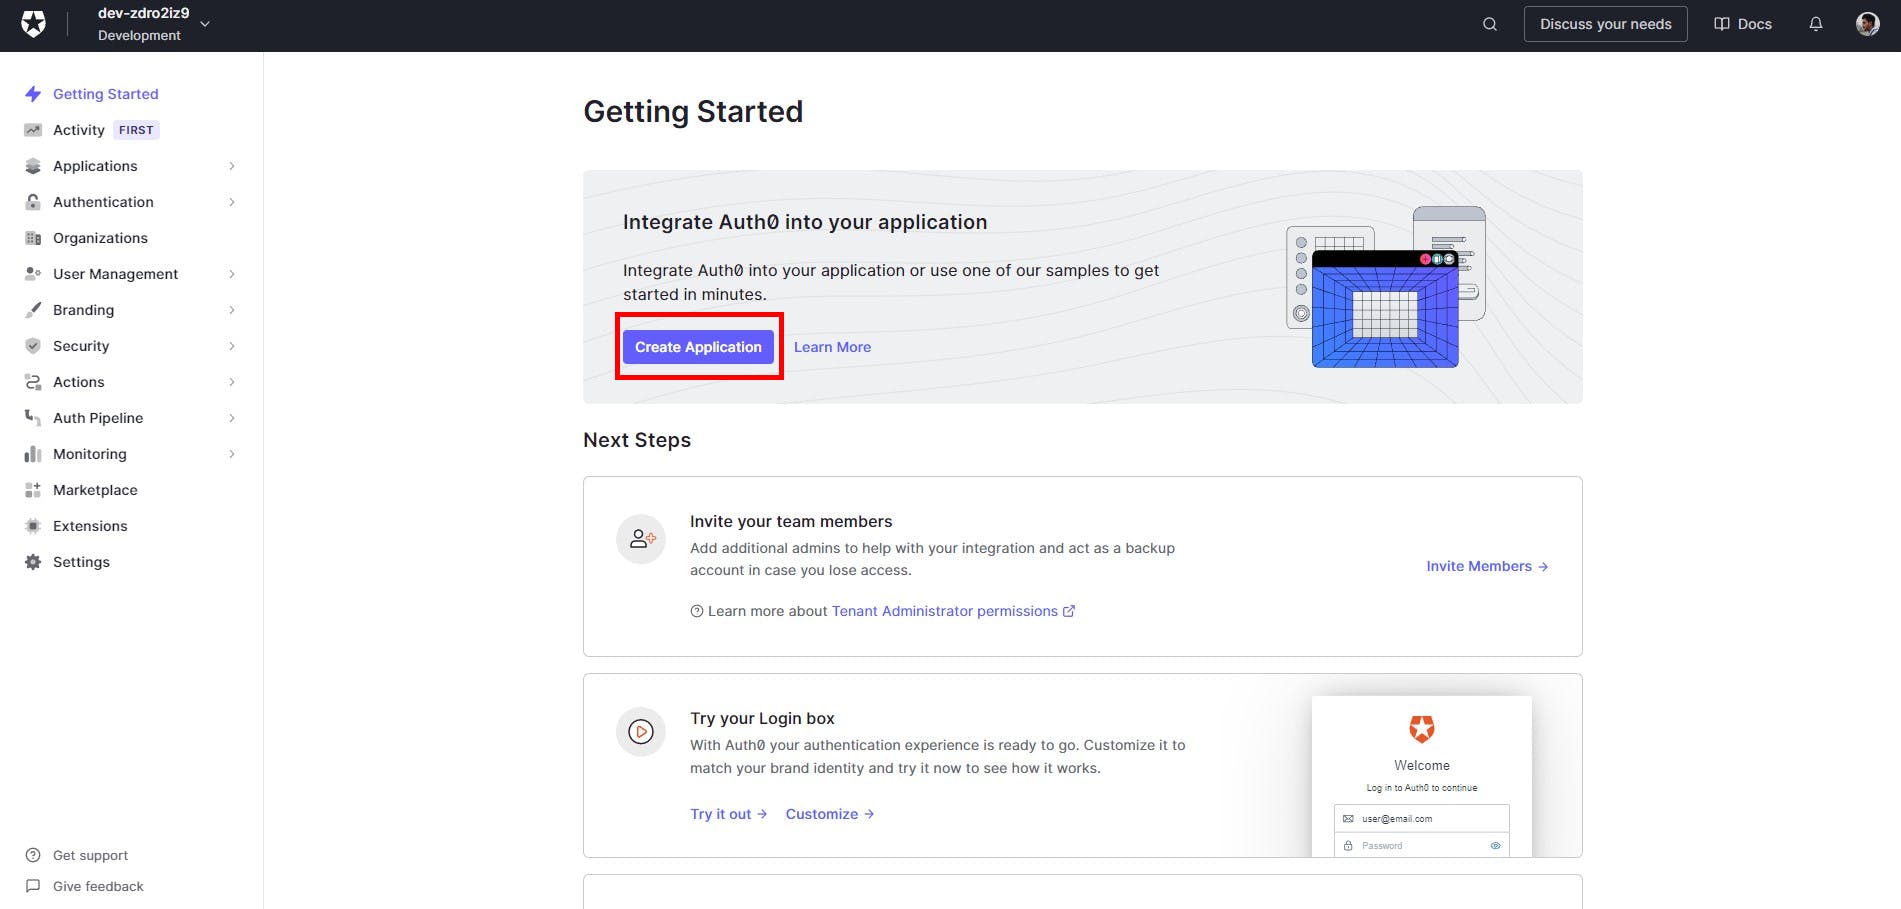
Now click on Create Application
Now name your app and choose application type by clicking Single page web applications and click Create.
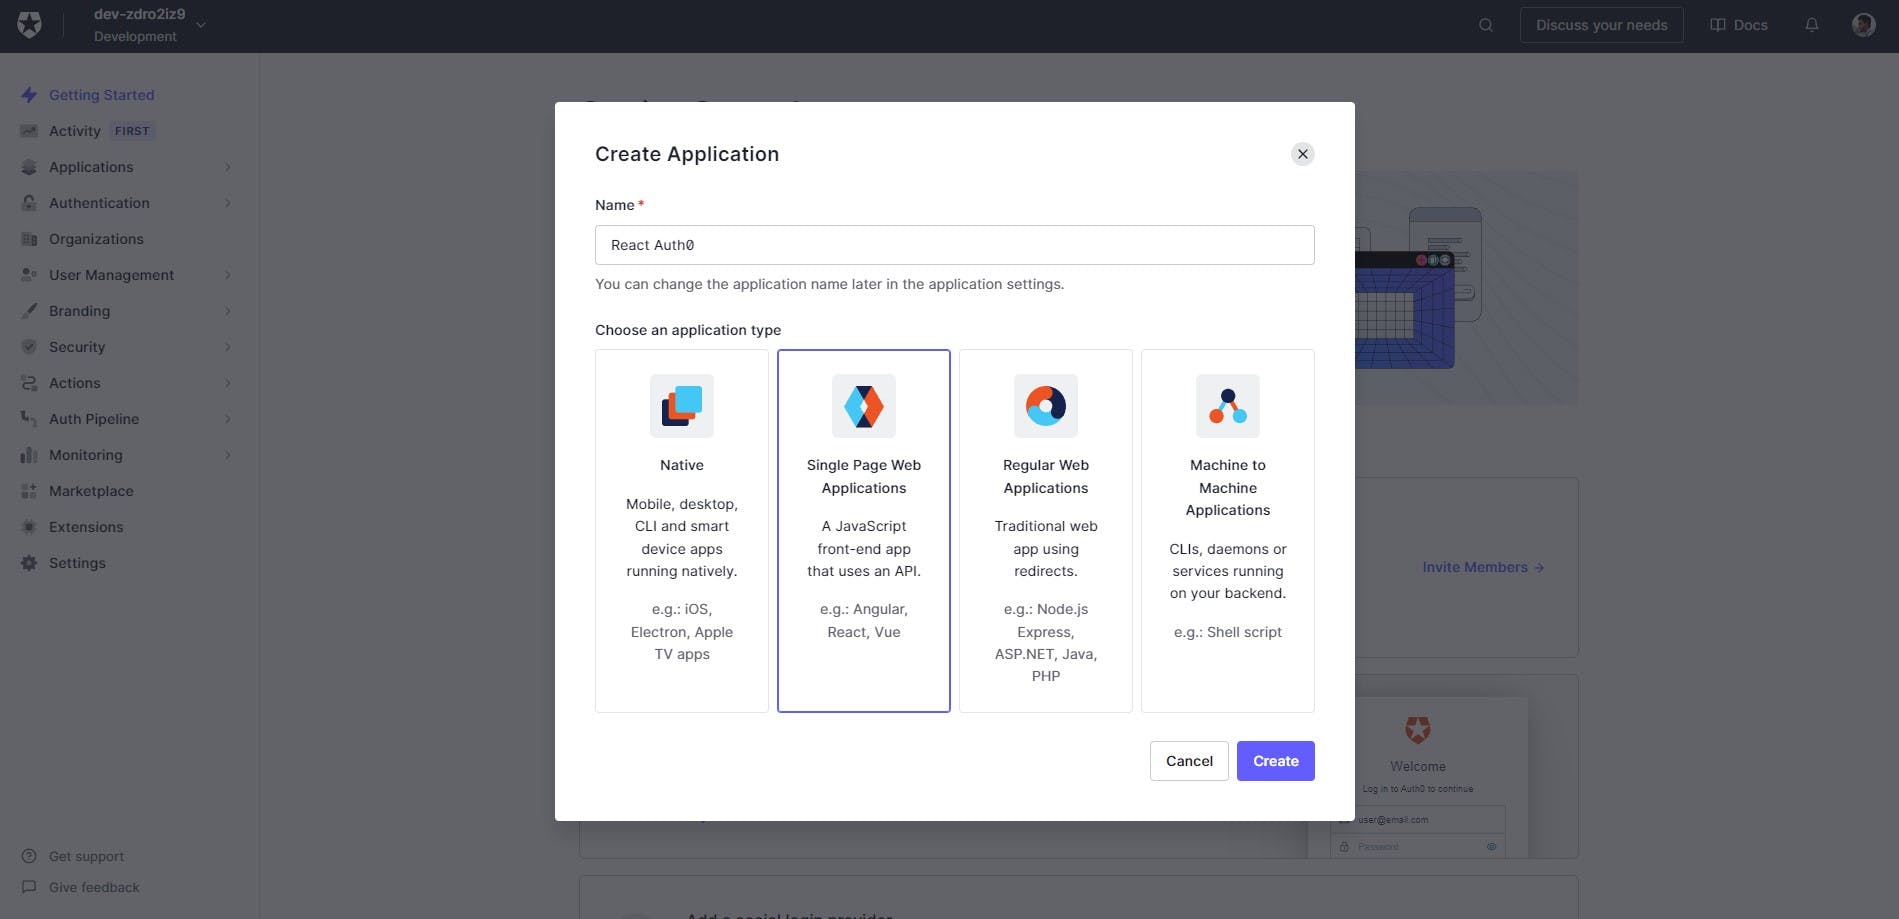
Choose React for this project or if you want to choose any other technology you surely can, steps are as same as for ReactJs.
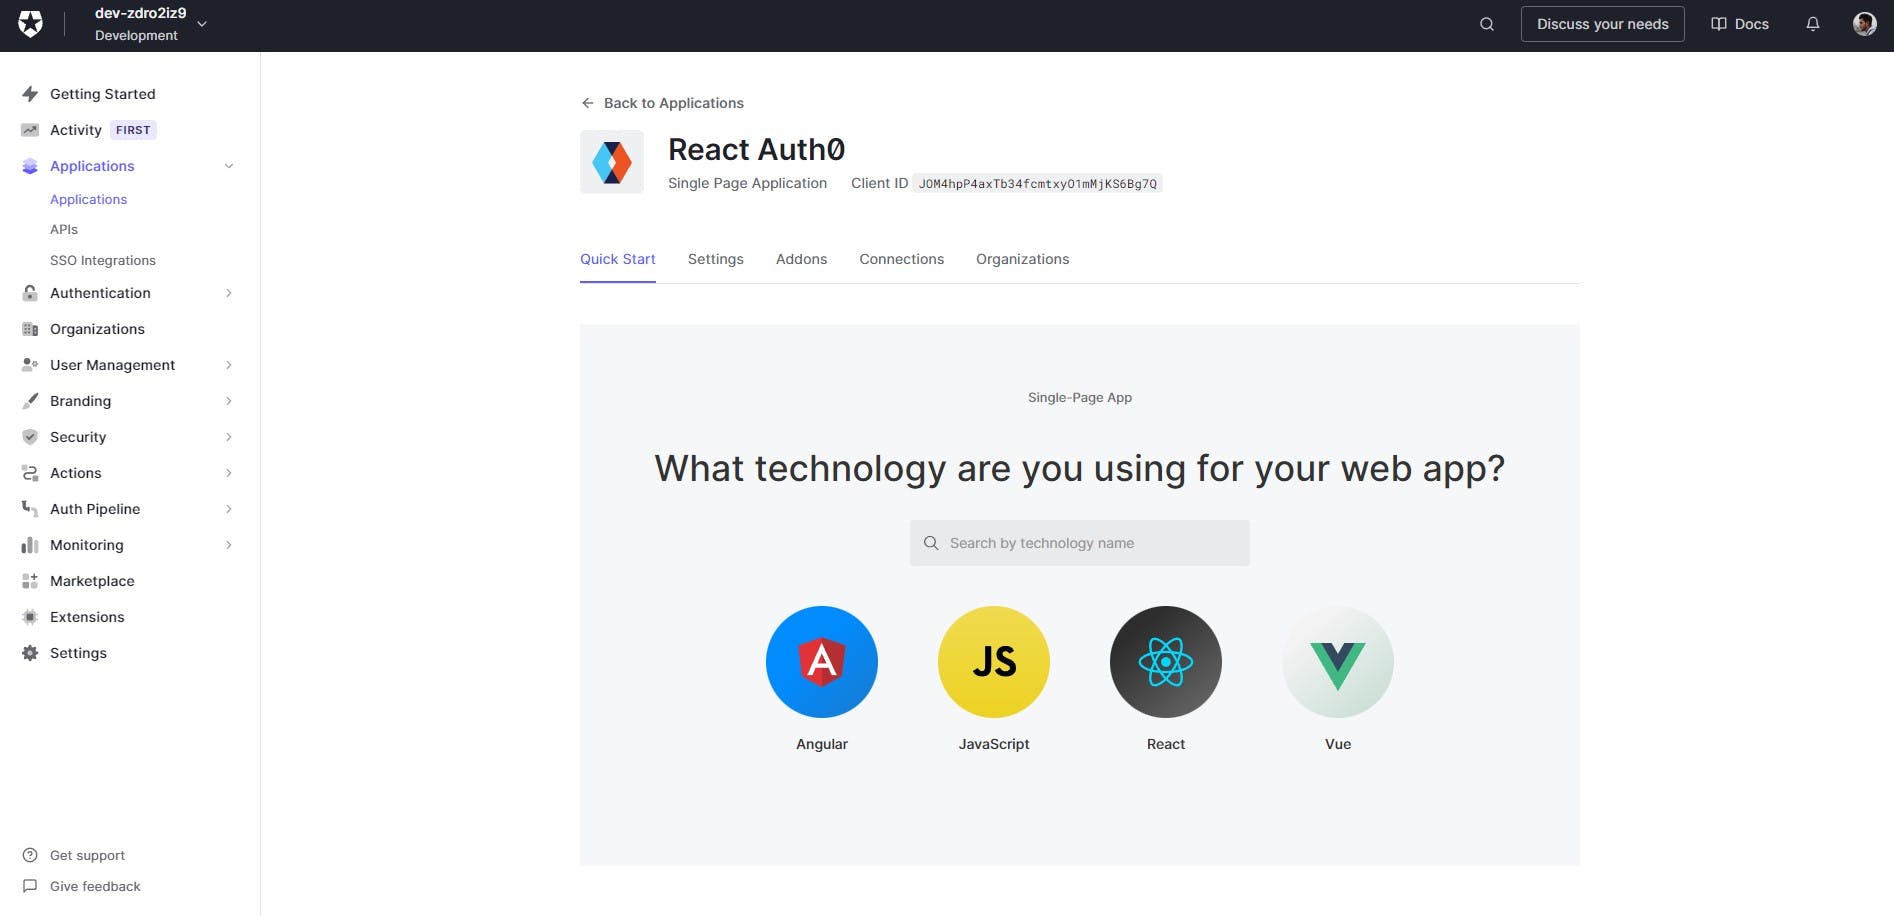
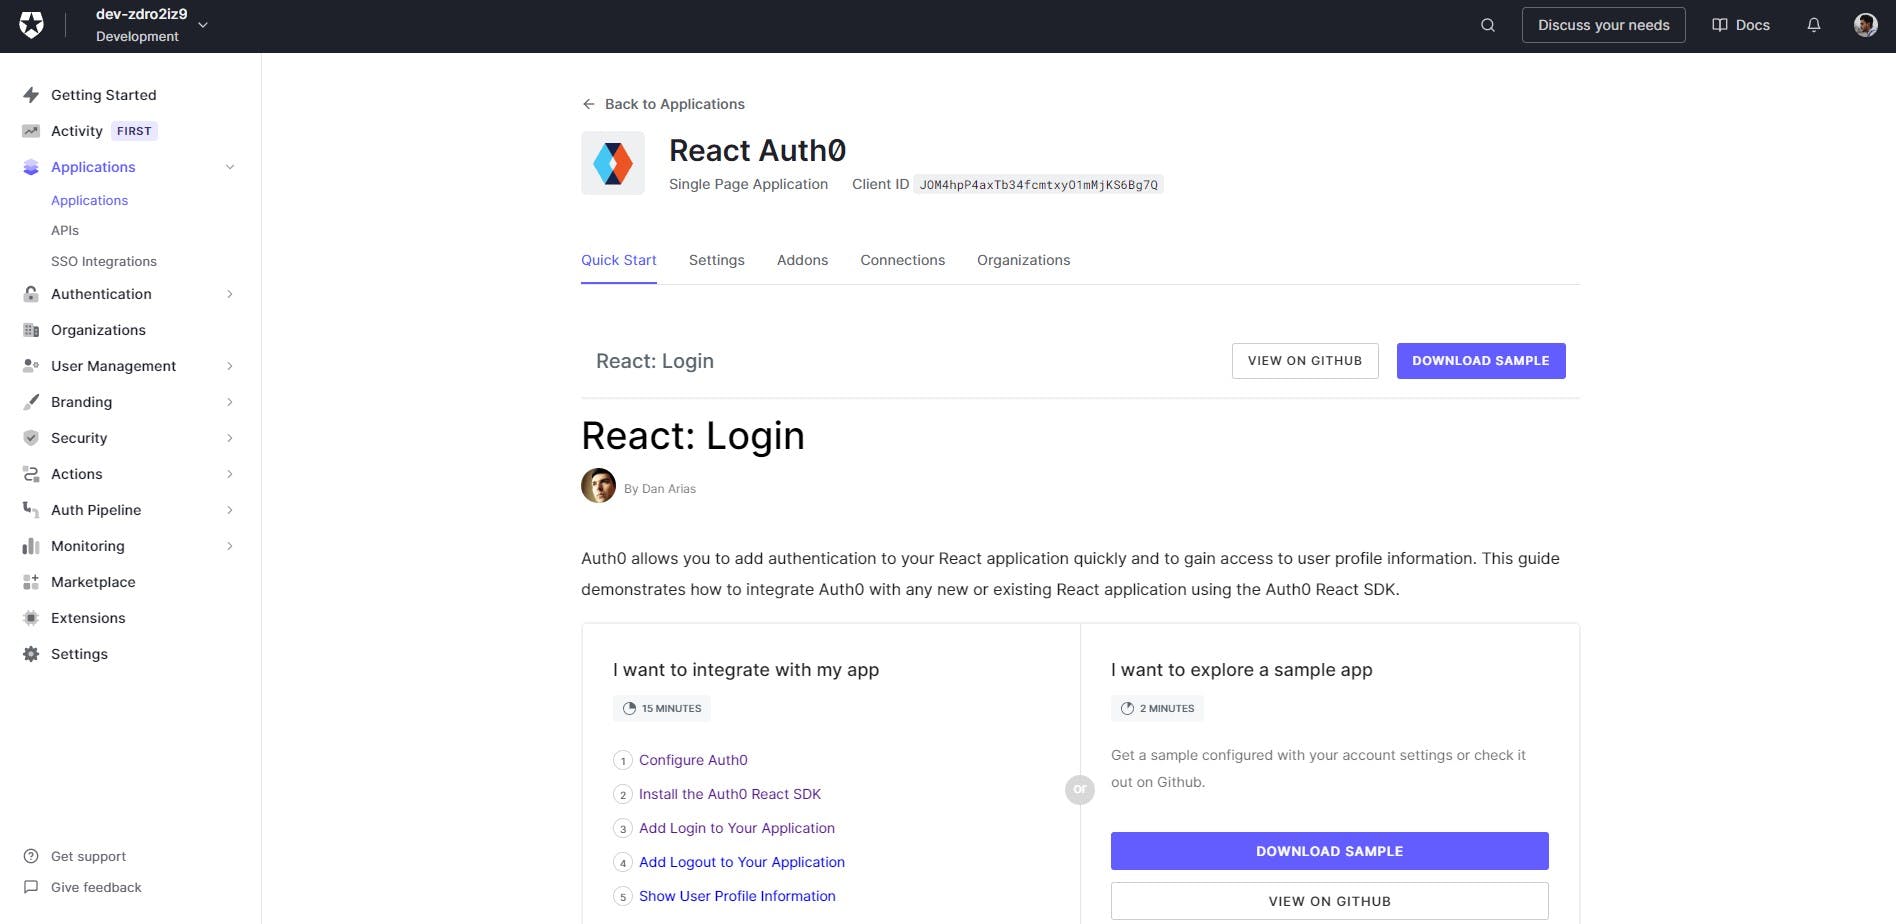
Now you will redirect to an interface where you get all the credentials that we use to initialize auth0.
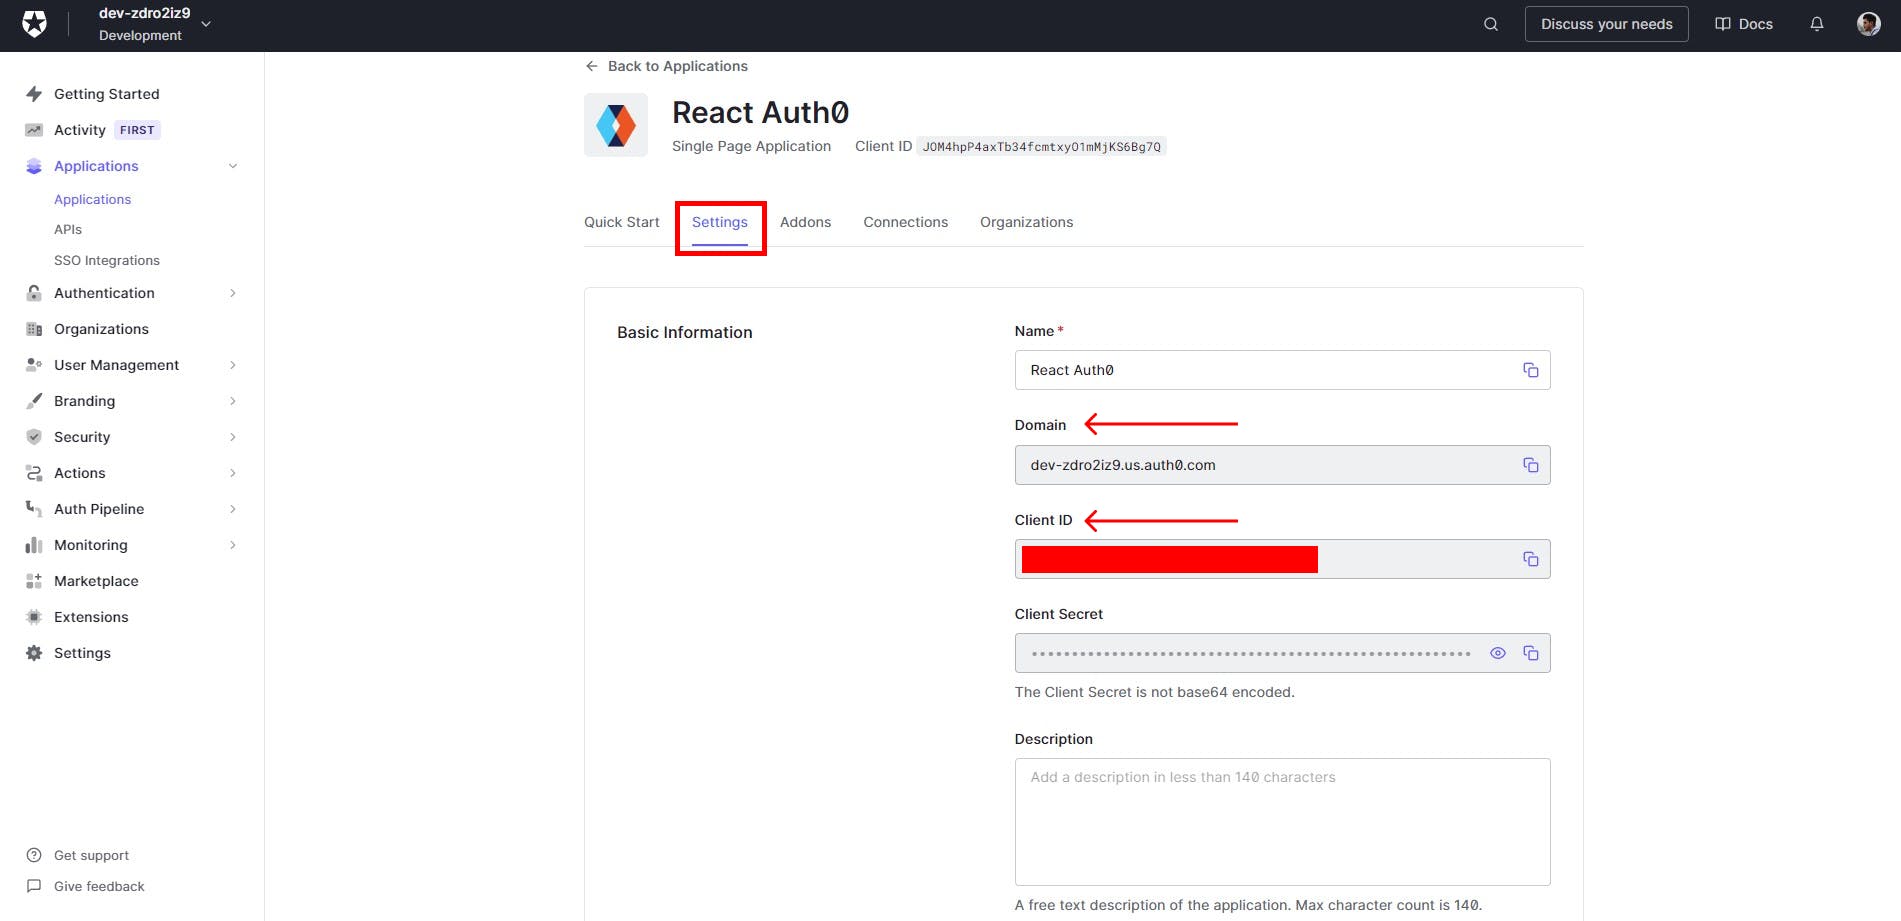
In the setting tab, you will get all the Domain, Client ID, and Client Secret. We will need these when we start coding.
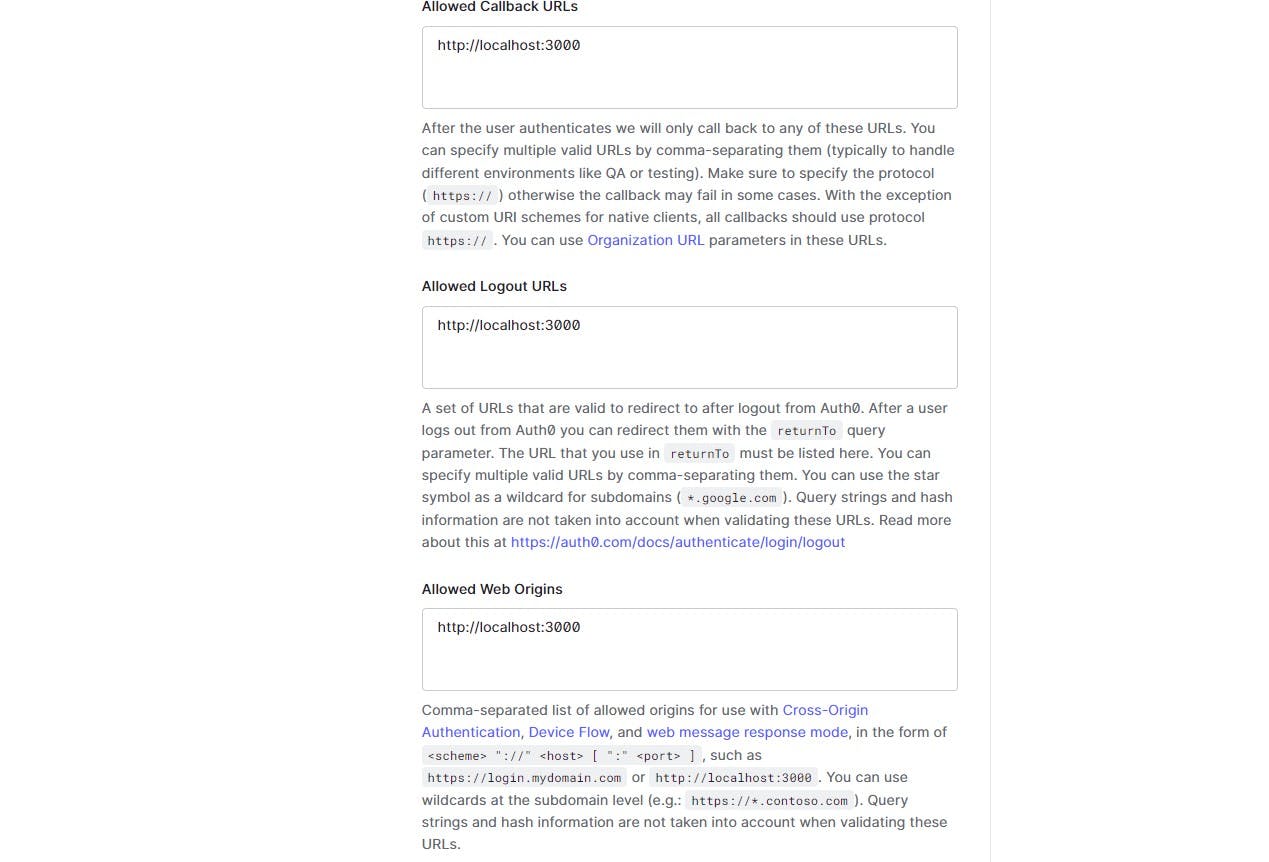
In the settings tab, scrolls down to Application URLs and we have to make some changes there. Add local server URL in these inputs.
http://localhost:3000
Now as our React app is initialized let's start implementing Authentication ✨
Install the React Auth0
npm install @auth0/auth0-react
Install React Router as we will need to redirect the user after logging in.
npm install react-router-dom
Configure index.js component
Wrap your App component with the BrowserRouter component and then wrap both components with the Auth0Provider component. The Auth0Provider component takes the following props:
- domain and clientId: The values of these properties correspond to the "Domain" and "Client ID" values present under the "Settings" of the single-page application that you registered with Auth0.
- redirectUri: The URL to where you'd like to redirect your users after they authenticate with Auth0.
import App from "./App";
import ReactDOM from "react-dom/client";
import { Auth0Provider } from "@auth0/auth0-react";
import { BrowserRouter } from "react-router-dom";
const root = ReactDOM.createRoot(document.getElementById("root"));
import "./index.css";

root.render(
    <Auth0Provider
        domain="Your Domain"
        clientId="Your Client ID"
        redirectUri={window.location.origin}>
        <BrowserRouter>
            <App />
        </BrowserRouter>
    </Auth0Provider>
);
Creating Routes
Create two routes Home and Login, and also create two pages for them. Define routes and then import createBrowserHistory from history and pass it to the Routes component.
import { Routes, Route } from "react-router-dom";
import { createBrowserHistory } from "history";
import Home from "./components/Home";
import Login from "./components/Login";
import "./App.css";

function App() {
    const history = createBrowserHistory();
    return (
        <div>
            <Routes history={history}>
                <Route path="/" element={<Login />} />
                <Route path="/home" element={<Home />} />
            </Routes>
        </div>
    );
}

export default App;
Login Component
import React from "react";

const Login = () => {
    return (
        <div>
            <button>Login</button>
        </div>
    );
};

export default Login;
Home Component
import React from "react";

const Home = () => {
    return (
        <div>
            <h1>Home</h1>
            <button>Logout</button>
        </div>
    );
};

export default Home;
And then start your app by using npm start command in your terminal.
npm start
After starting the app the following screen will be shown on your screen.

Add Login
The Auth0 React gives you a loginWithRedirect() method from the useAuth0 hook. Executing loginWithRedirect() redirects your users to the Auth0 Universal Login Page, where Auth0 can authenticate them. Upon successful authentication, Navigate your users back to your application.
import React from "react";
import { useAuth0 } from "@auth0/auth0-react";
import { useNavigate } from "react-router-dom";

const Login = () => {
    const { loginWithRedirect } = useAuth0();
    const { isAuthenticated } = useAuth0();
    const navigate = useNavigate();
    if (isAuthenticated) {
        navigate("/home");
    }
    return (
        <div>
            <button onClick={() => loginWithRedirect()}>Login</button>
        </div>
    );
};

export default Login;
Now on clicking the Login button you will redirect to the Auth0 universal login page. Where you can authenticate a user.
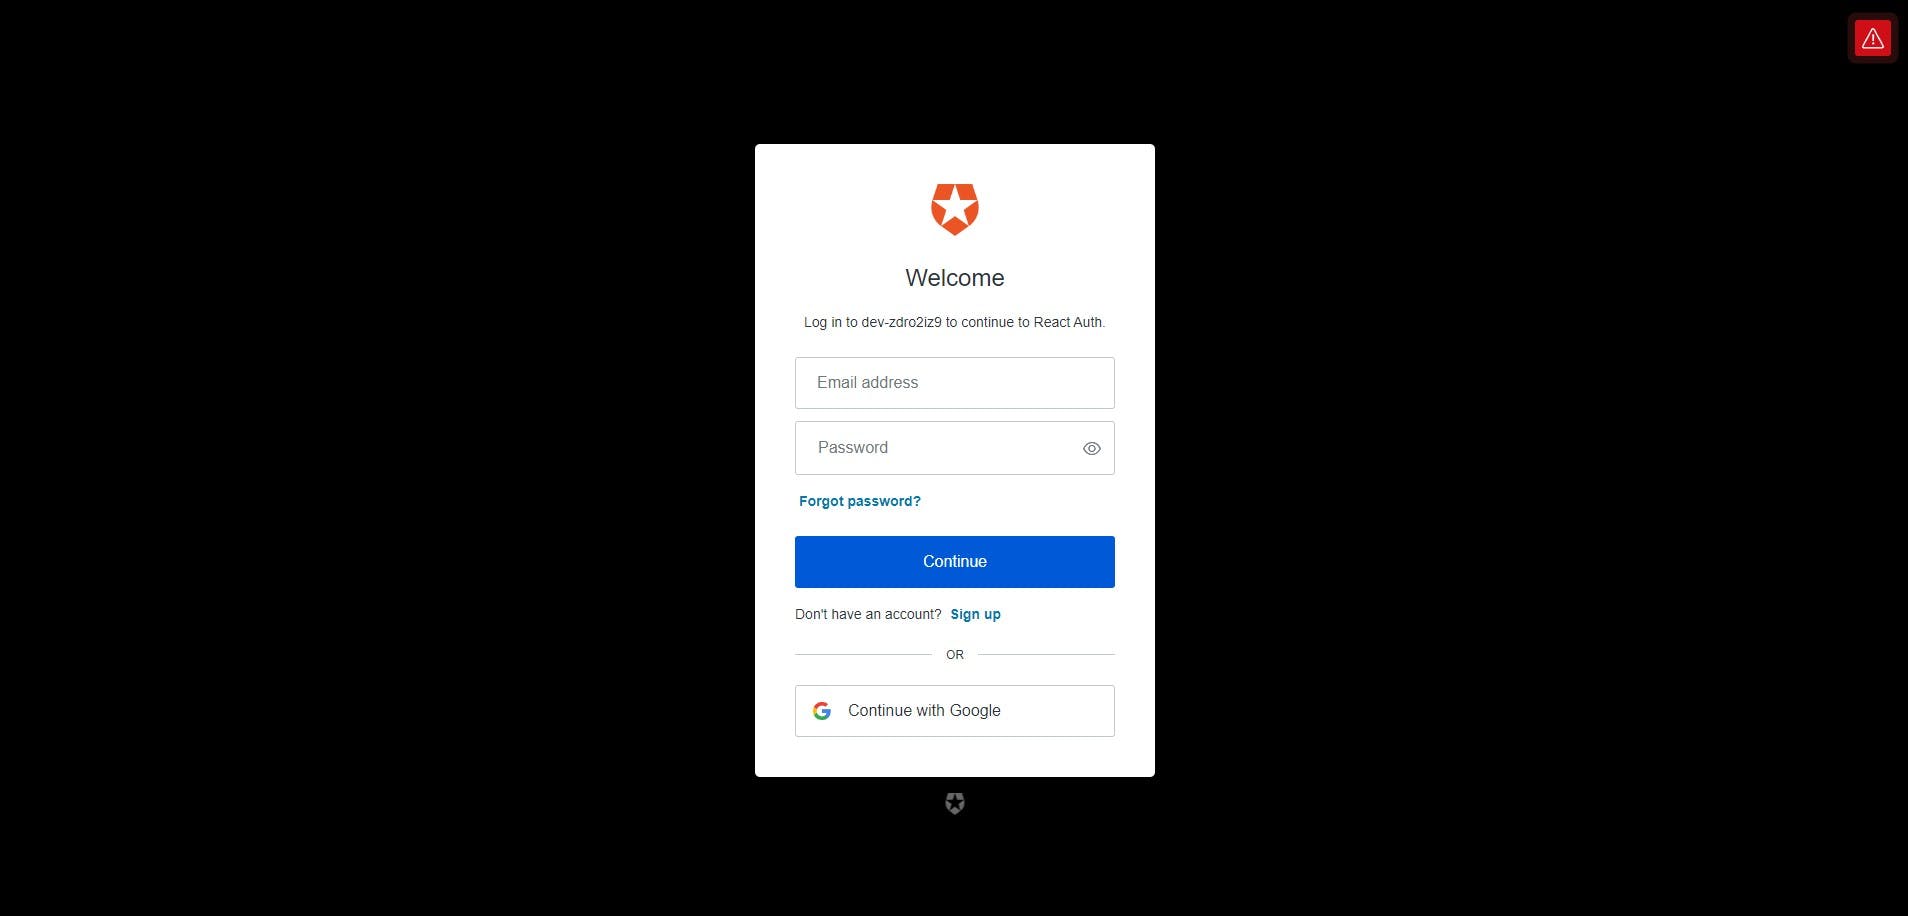
After successful login user will be navigated to the homepage and now let's work on logout and getting logged-in user data.

Add Logout
Now that you can log in to your React application, you need a way to log out. You can create a logout button using the logout() method from the useAuth0() hook. Executing logout() redirects your users to your logout endpoint.
withAuthenticationRequired() by executing this function only logged-in users will get access to your Homepage component If you are not logged in, It will redirect you to the login page on accessing the homepage.
import { useAuth0, withAuthenticationRequired } from "@auth0/auth0-react";
import React from "react";

const Home = () => {
    const { logout } = useAuth0();
    return (
        <div>
            <h1>Home</h1>
            <button onClick={() => logout({ returnTo: window.location.origin })}>
                Logout
            </button>
        </div>
    );
};

export default withAuthenticationRequired(Home);
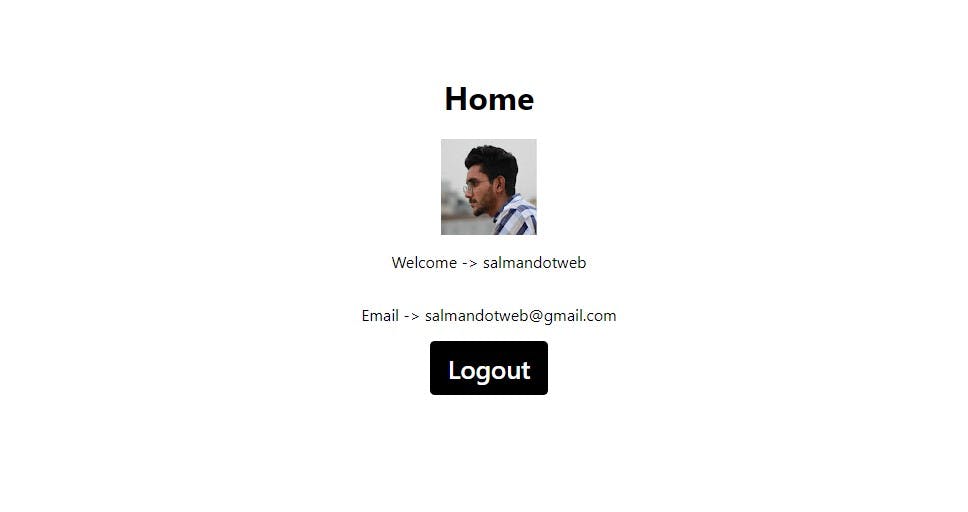
Show Logged-in User Data
The profile information is available through the user property exposed by the useAuth0() hook. Take this Profile component as an example of how to use it:
import { useAuth0, withAuthenticationRequired } from "@auth0/auth0-react";
import React from "react";

const Home = () => {
    const { user } = useAuth0();
    const { logout } = useAuth0();
    console.log(user);
    return (
        <div>
            <h1>Home</h1>
            <img src={user.picture} alt={user.name} />
            <p>{`Welcome -> ${user.nickname}`}</p>
            <p>{`Email -> ${user.email}`}</p>
            <button onClick={() => logout({ returnTo: window.location.origin })}>
                Logout
            </button>
        </div>
    );
};

export default withAuthenticationRequired(Home);
You can read the documentation if you want to go further in this but this is just a simple tutorial that how you can get started with React Auth0 Authentication, It's really simple and easy to implement.
Hope you liked it ✨